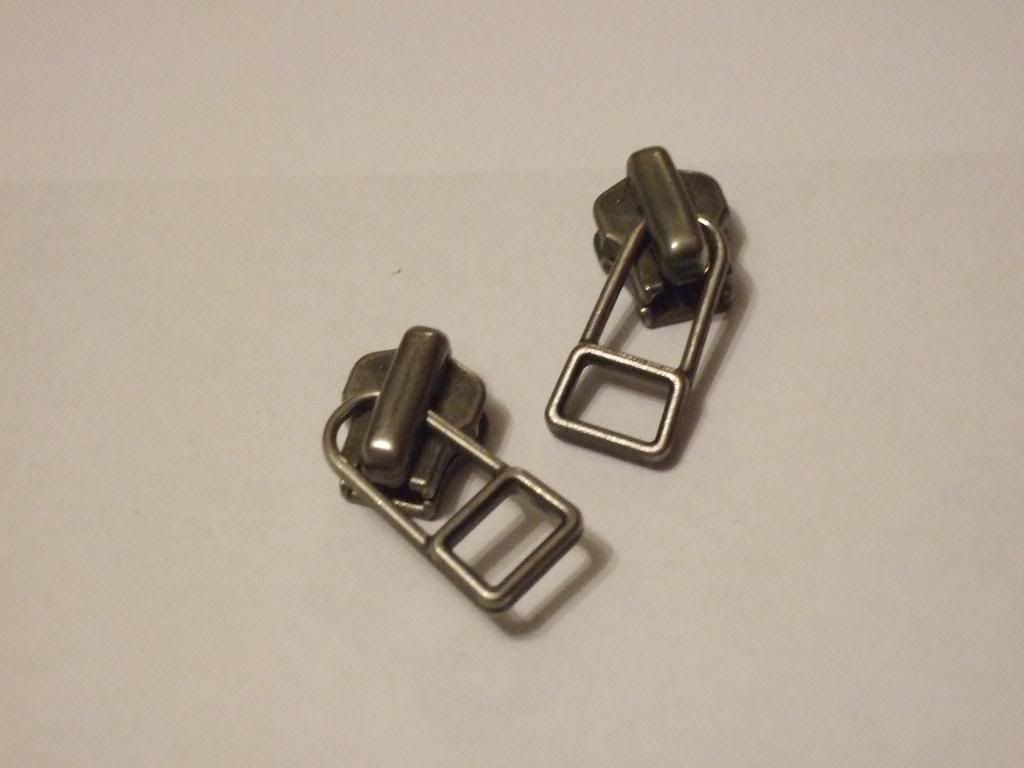
A girl can never have enough accessories, and cutting back on the spending doesn't have to mean cutting back on the little joys in life. With the snow still on the ground outside though, I didn't feel like stepping out and braving the cold, so I decided to save myself the bus fare and do my window shopping from home today. Whilst browsing the Accessorize website I came across some earring shaped like zippers and instantly thought... I could do that! They cost only £5 for three pairs, which works out at £1.66 each and I think that's pretty reasonable, but it's still cheaper to do things my way; and much more satisfying too!
What you need:
Two matching old or damaged zippers, strong glue, scissors, nail polish and blank earring backs. I don't have pierced ears, so I used clip-ons, but studs would work just fine.
Step 1: Cut off the zippers so that the slides are loose.
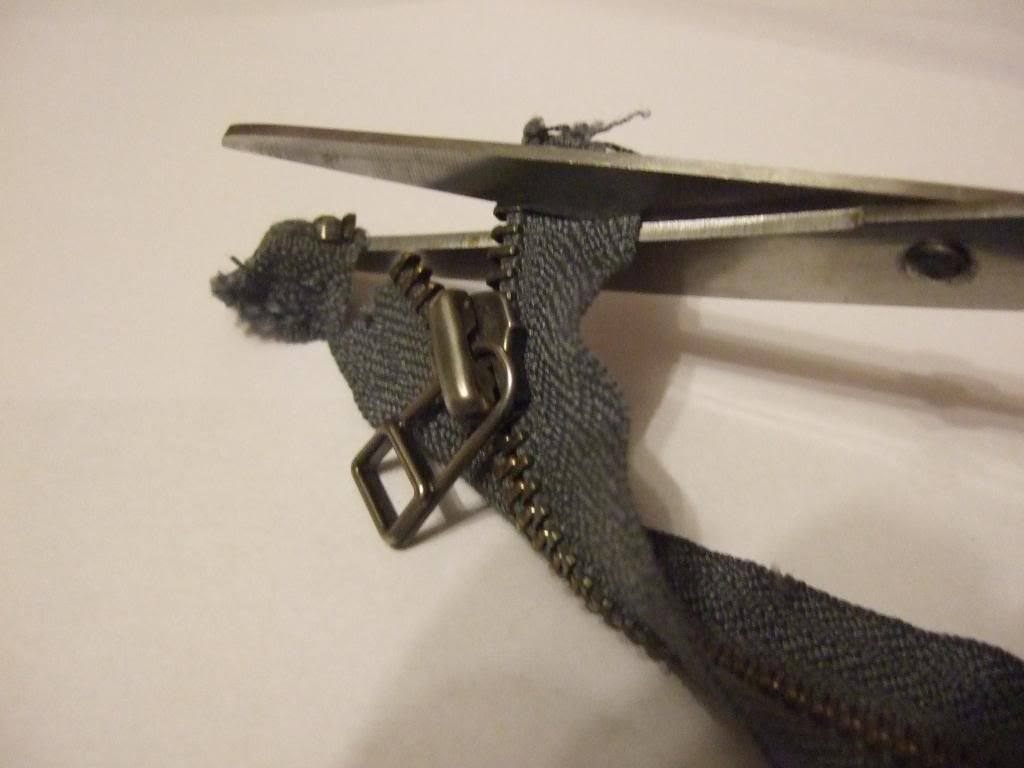
Step 2: Using a little bit of glue, stick down the loose bits so that they don't move.
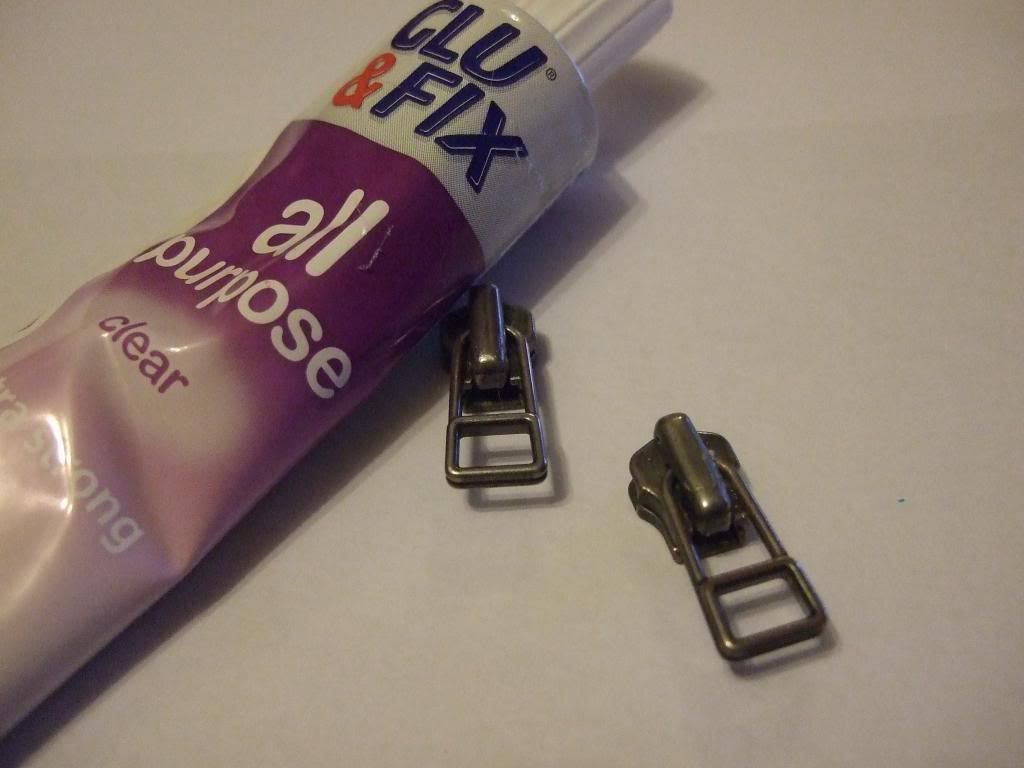
Step 3: Paint with the nail polish colour of your choice.
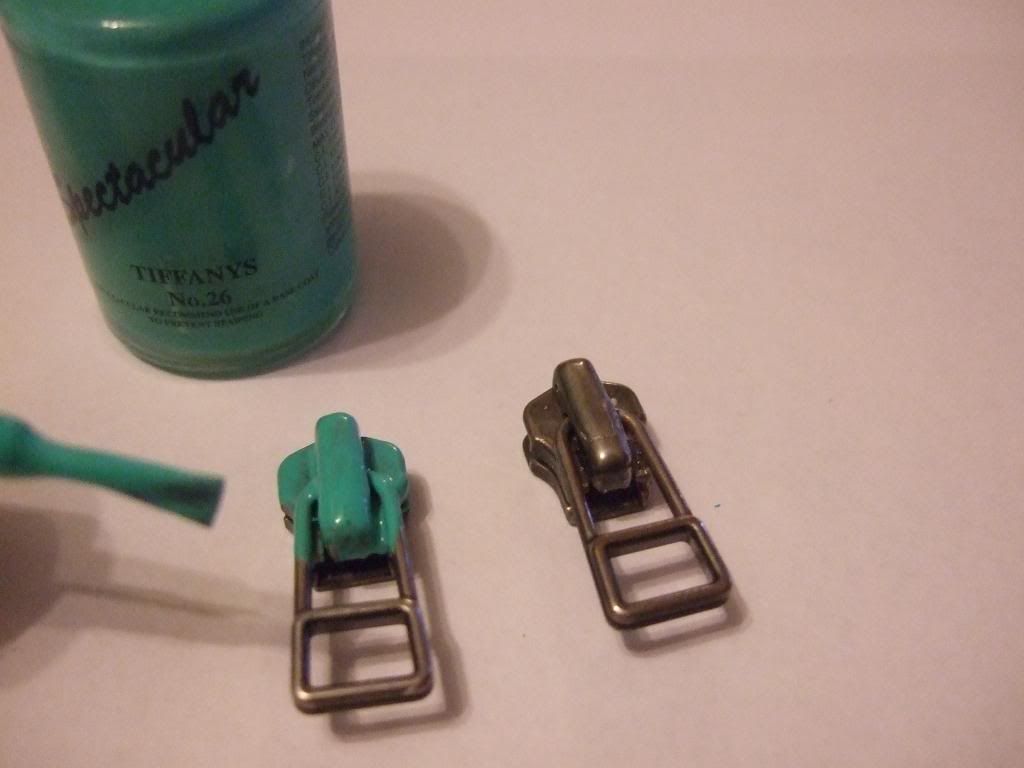
Now this is where you need a little patience, because the drying time is a kicker! You need to make sure that the nail polish is COMPLETELY dry before proceeding to the next step. Trust me, if you touch them too soon you will just end up with nasty smudgy fingerprints, and who wants that on their accessories?!
Step 4: Apply glue to the earring backs and press the zipper slides on firmly. Leave to dry again.
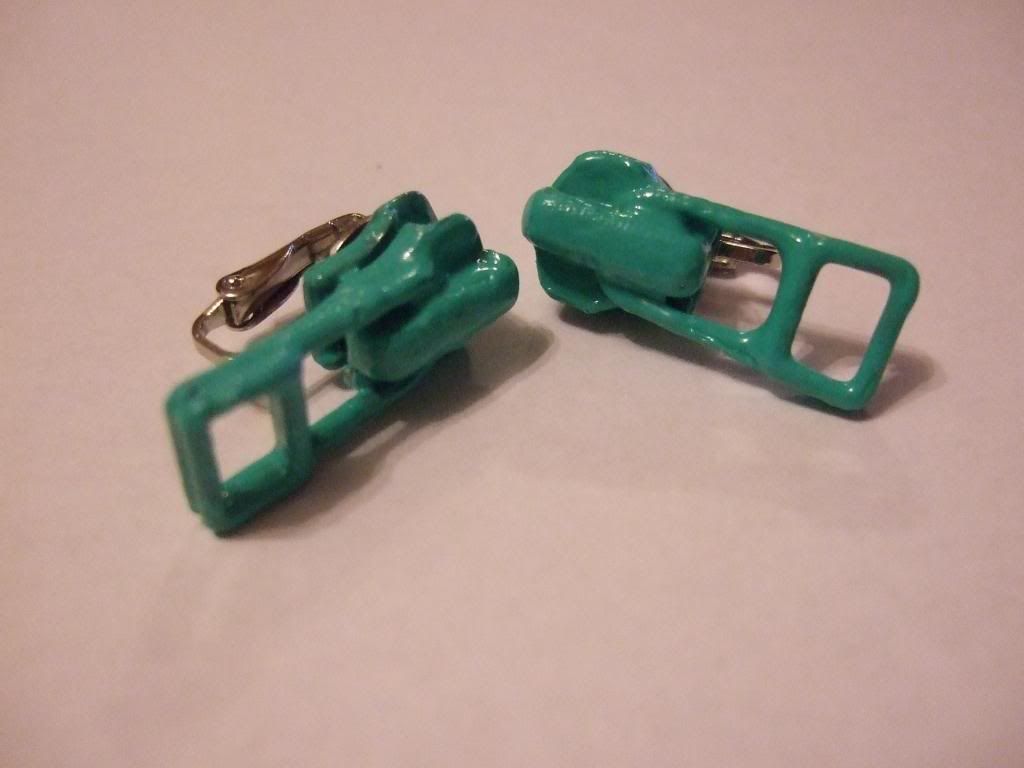
And you're done!
I should note that the nail polish I used was a little old and gloopy, which ended up with a blobby end result. Using a newer nail polish would have a better result, or you may want to experiment with spray paint, that would create a more even coating and would look pretty cool. I however, did not HAVE spray paint, and as the object of the game is to not spend, nail polish would have to suffice for me.
The inspiration earrings cost £5.00, all I paid for here were the earring blanks which cost £1.35 for a pack of three.
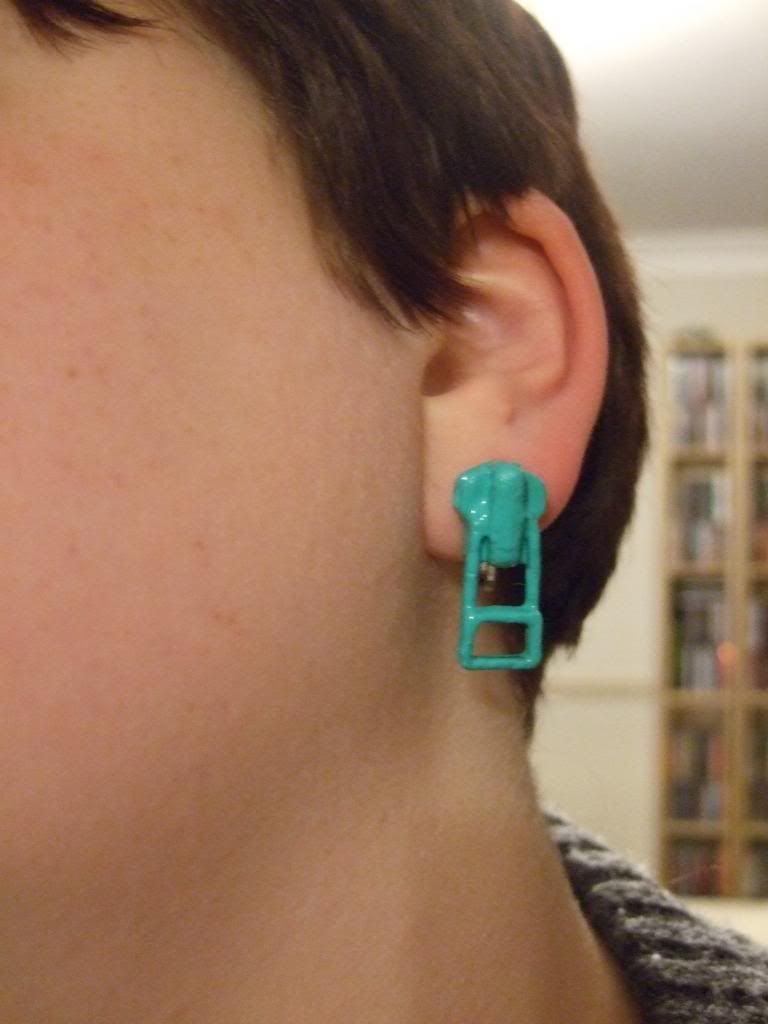
Total cost: 45p bargain!
Total time spent: 1 hour - to allow for drying time.
Monday, 21 January 2013
Friday, 18 January 2013
Brrrr!
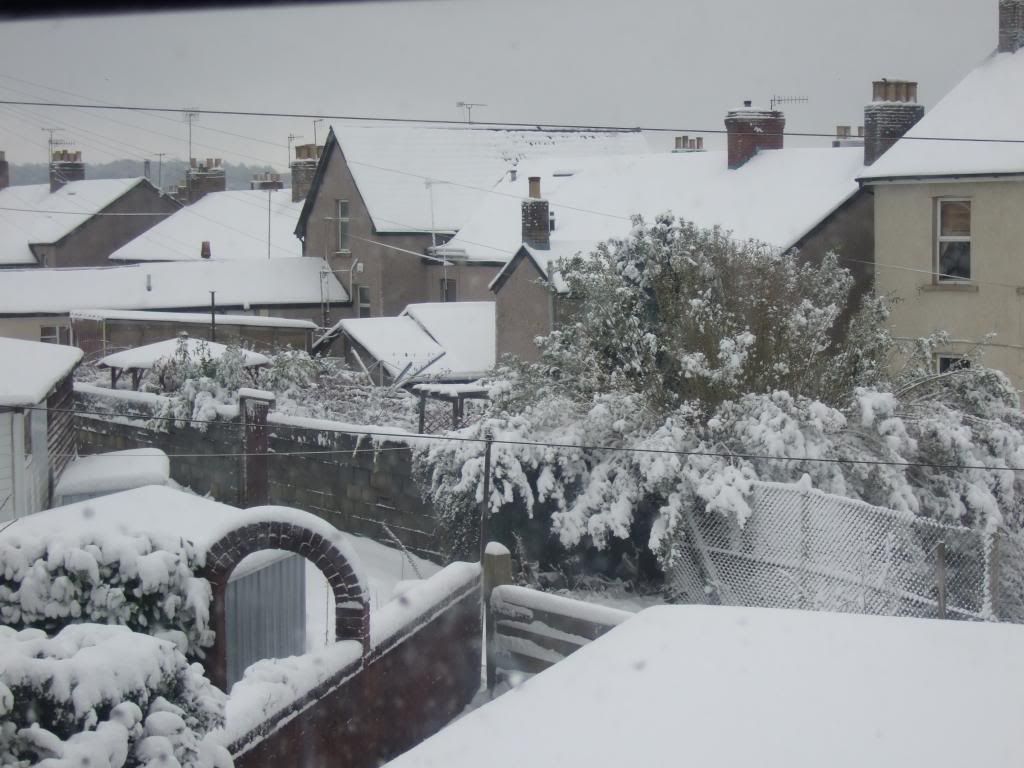
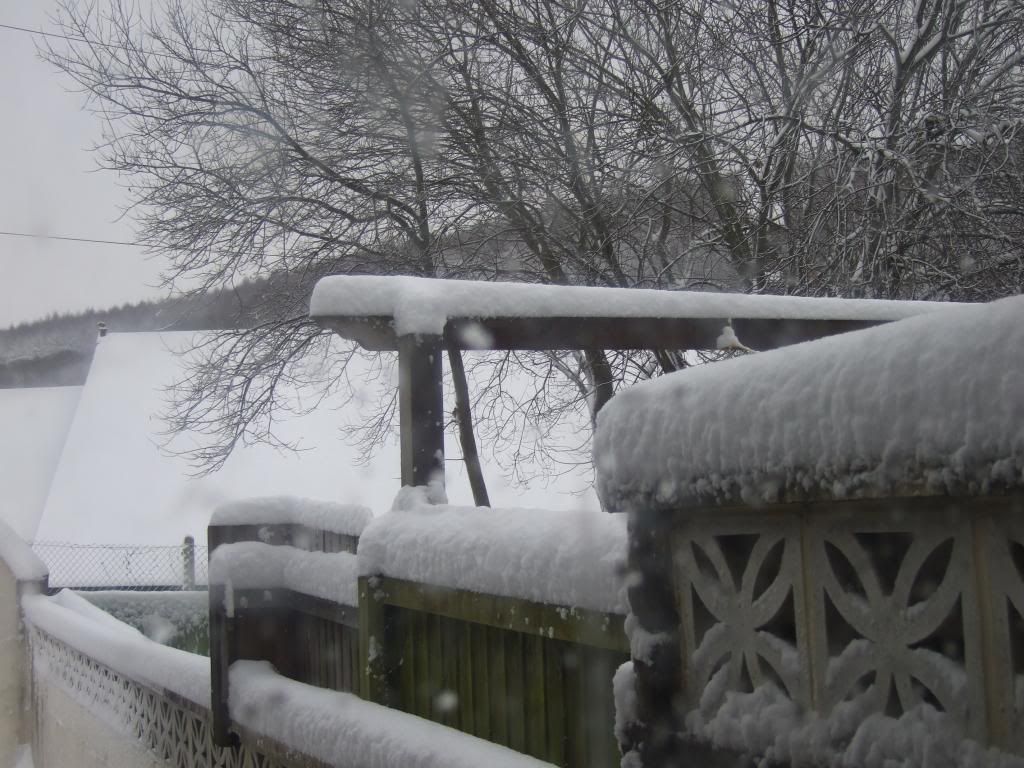
I do not manage well with the cold. I shiver, I ache, and I complain. A LOT. When it's cold outside, the best thing for all concerned is for me to stay in and if I absolutely HAVE to go out, I need to wrap up warm. So, when I opened my curtains this morning and was faced with this...
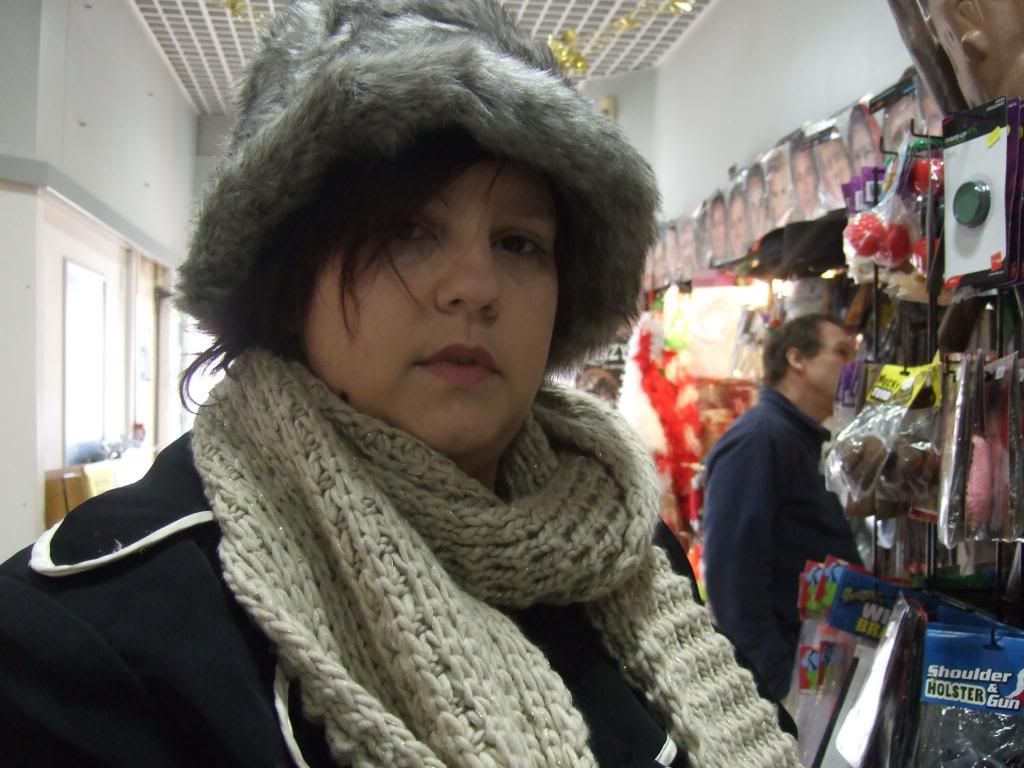
it was clear that I had to find something to do indoors; and what better thing to do than make something that puts a smile on my face on those snowy winter mornings. That's when I remembered this:
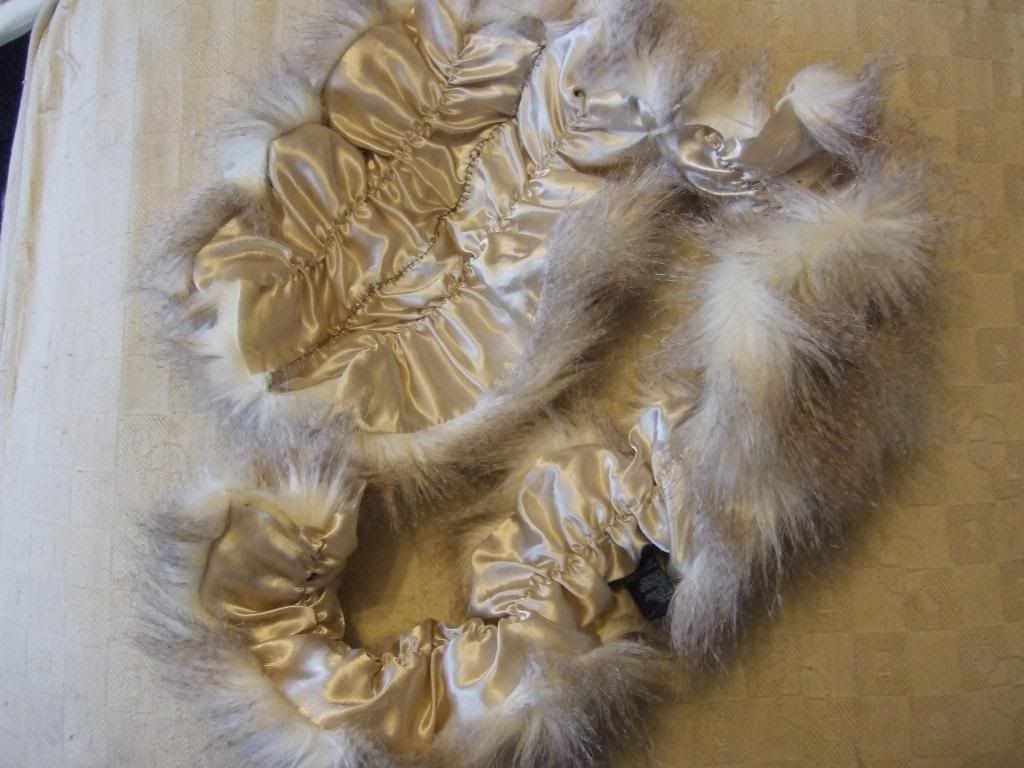
I tried it on when I was out shopping with my Mum (I take pictures of things I like and think I can make for cheaper). The hat was £10, and it instantly make me think of a scarf that my sister gave to me when she was throwing things out (I always get first dibs before something gets tossed).
So, time to gather my supplies.
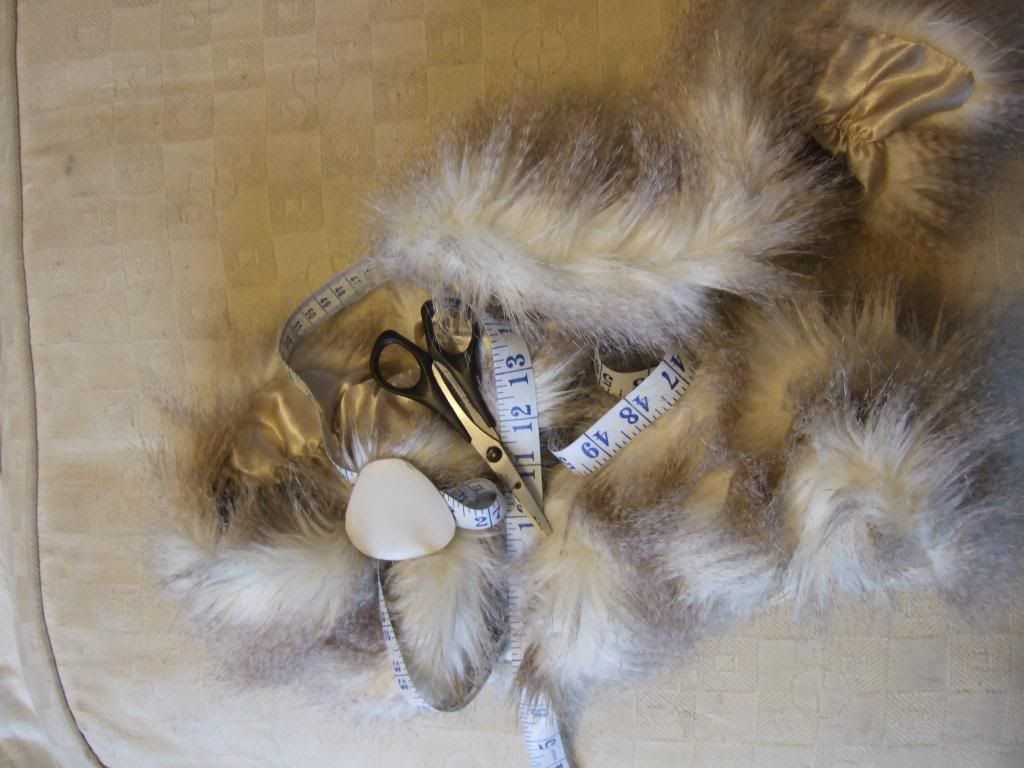
All I needed was the scarf, scissors, measuring tape, needle and thread (not pictured). Pictured here is
tailors chalk, but I ended up using a marker pen because it was easier to see.
Step one: I measured around my head, and marked the scarf at the same length:
I decided to cut off both ends of the scarf as they were slightly rounded and use the middle bit to go around my head.
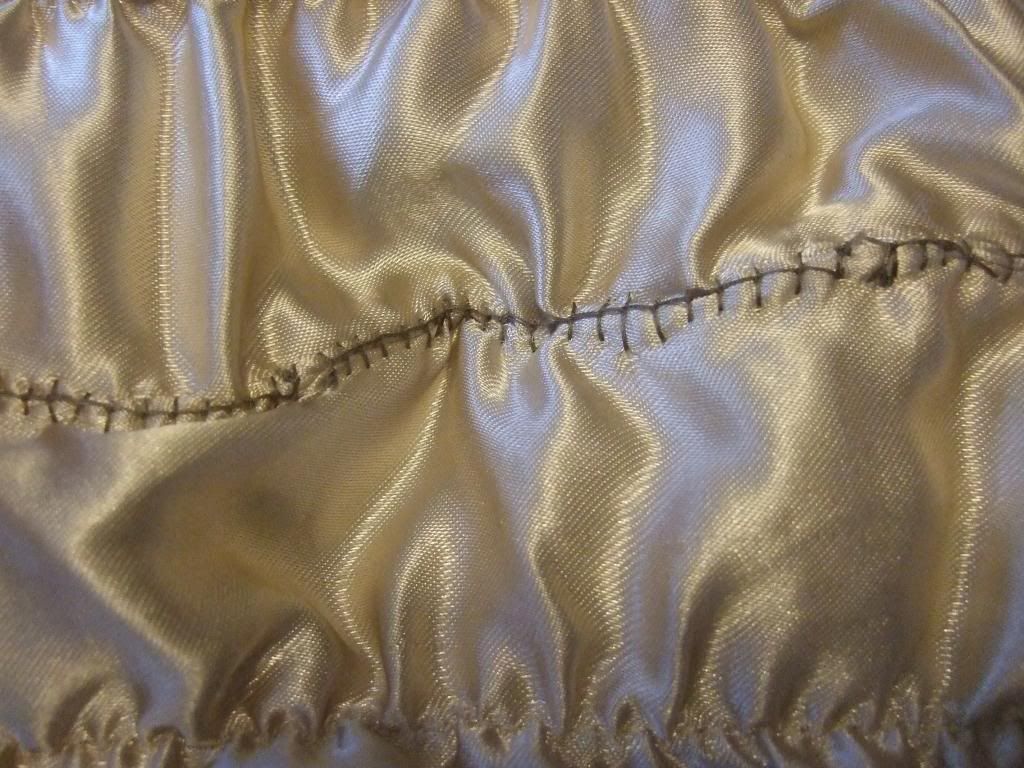
Step two: I sewed the two end pieces together to form the top of the hat:
Step three: I sewed the long bit around the full perimeter of the top and joined up all of the seams:
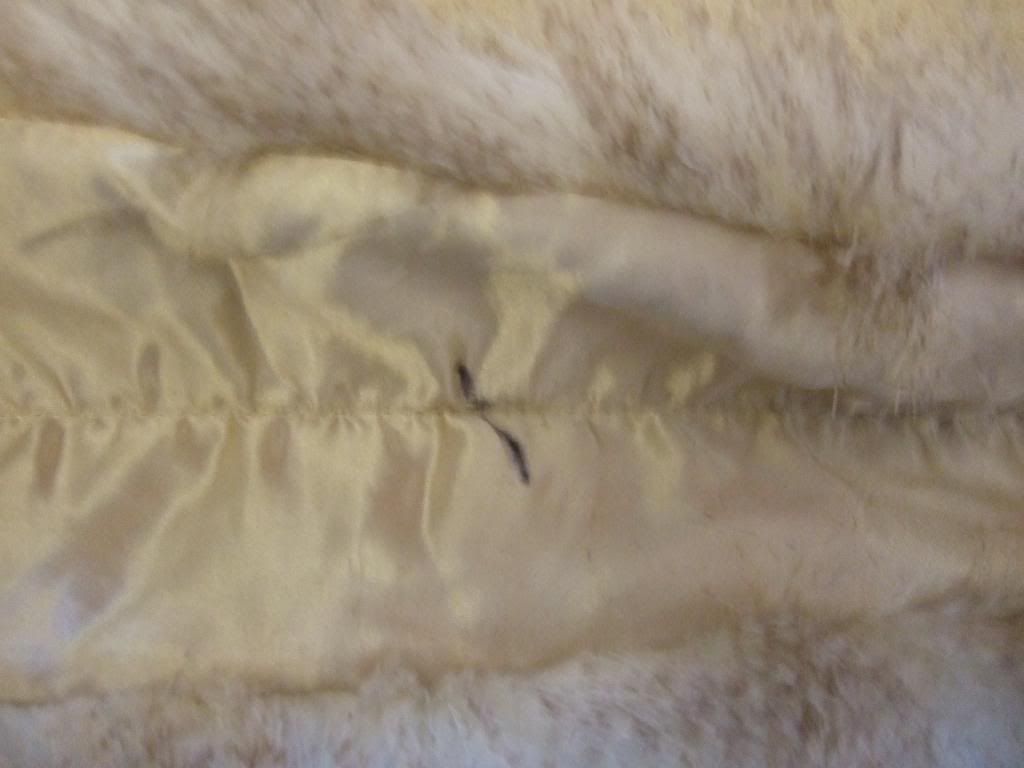
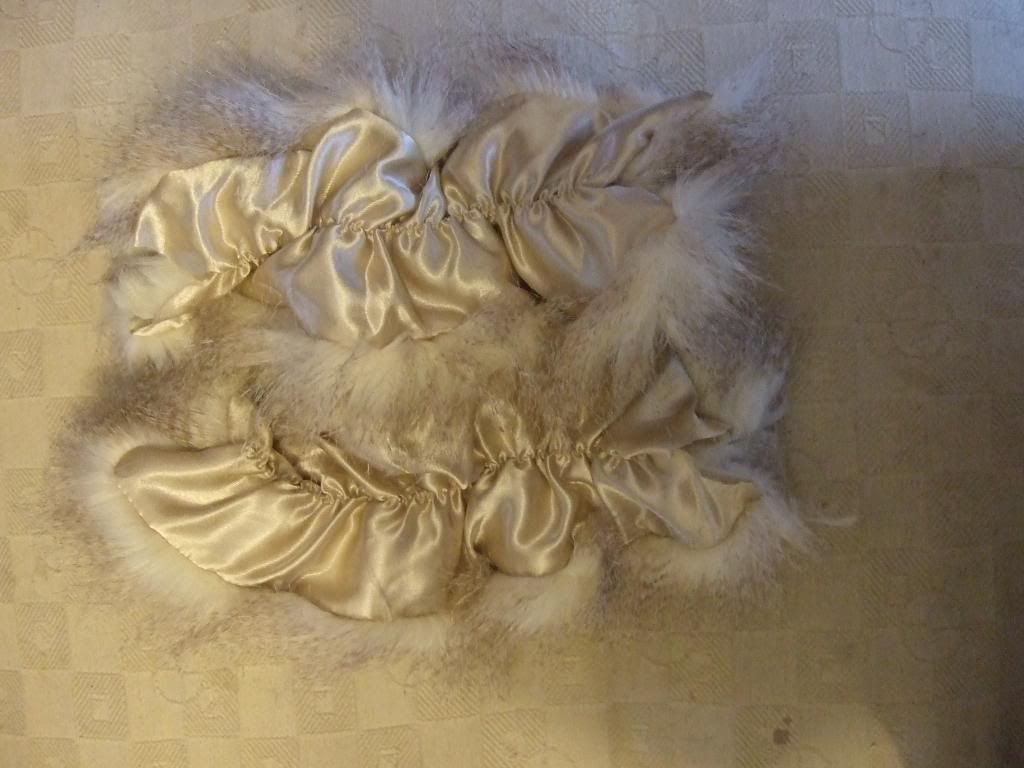
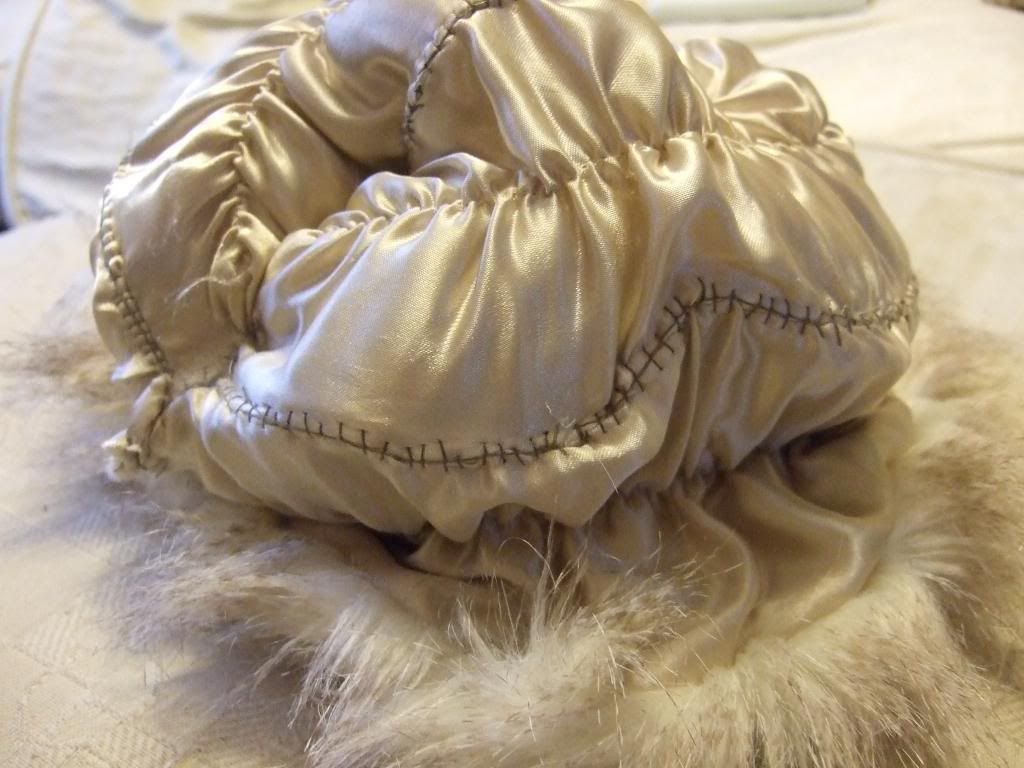
I did all of my work inside out, and, to be frank, it didn't look pretty!
Until I turned it out that is!
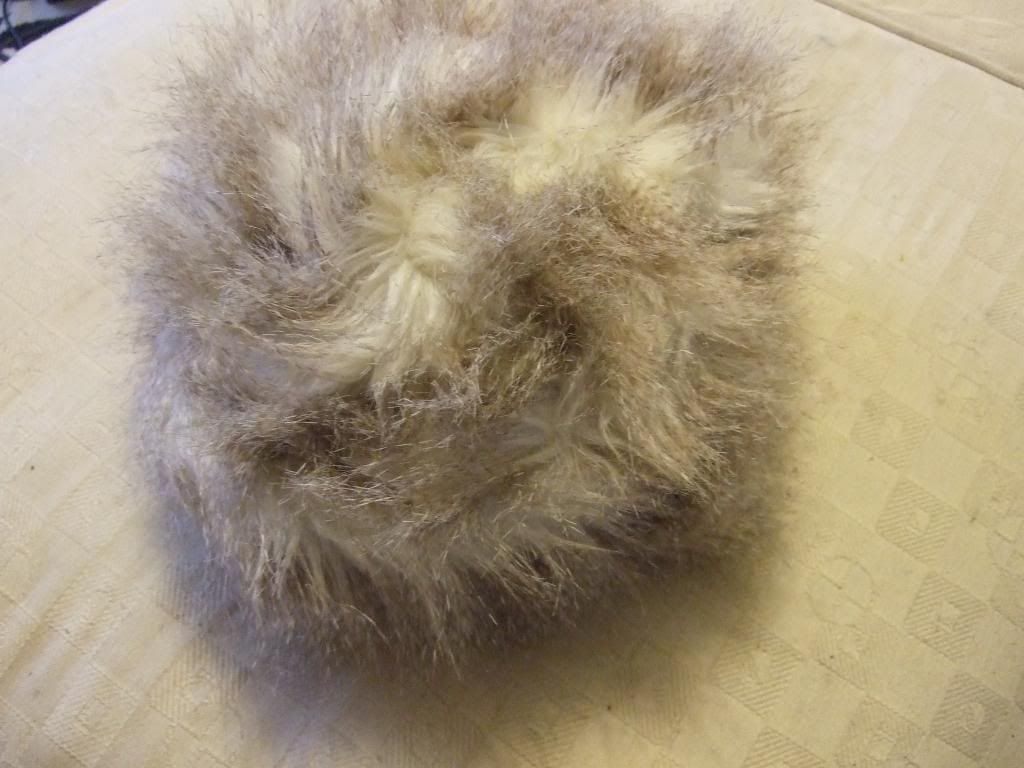
All done:
That's a saving of £10 thank you very much!
Total cost:£0.00
Total time spent: Around 4 hours - due to all the fluff which forced me to sew everything by hand. It may look pretty but it's evil to work with!
it was clear that I had to find something to do indoors; and what better thing to do than make something that puts a smile on my face on those snowy winter mornings. That's when I remembered this:
I tried it on when I was out shopping with my Mum (I take pictures of things I like and think I can make for cheaper). The hat was £10, and it instantly make me think of a scarf that my sister gave to me when she was throwing things out (I always get first dibs before something gets tossed).
So, time to gather my supplies.
All I needed was the scarf, scissors, measuring tape, needle and thread (not pictured). Pictured here is
tailors chalk, but I ended up using a marker pen because it was easier to see.
Step one: I measured around my head, and marked the scarf at the same length:
I decided to cut off both ends of the scarf as they were slightly rounded and use the middle bit to go around my head.
Step two: I sewed the two end pieces together to form the top of the hat:
Step three: I sewed the long bit around the full perimeter of the top and joined up all of the seams:
I did all of my work inside out, and, to be frank, it didn't look pretty!
Until I turned it out that is!
All done:
That's a saving of £10 thank you very much!
Total cost:£0.00
Total time spent: Around 4 hours - due to all the fluff which forced me to sew everything by hand. It may look pretty but it's evil to work with!
Friday, 11 January 2013
No sew, 15 minute make
After making my last project, I had a lot of spare fabric left over. I was left with the top half of the dress, as well as the flower embellishment. So I decided on a quick, simple project which yielded fast results.
The only things required were:
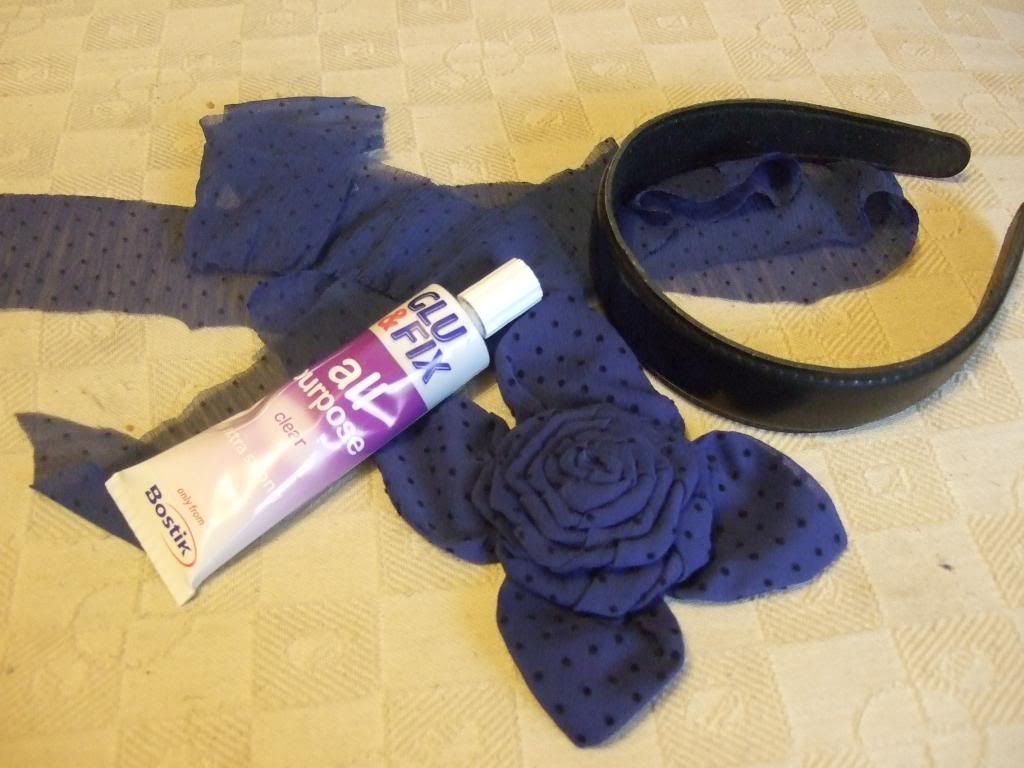
Some strips of fabric, one of the flowers (which saves two for a future project, yay!), cardboard (not pictured), strong glue and a dissused headband that I had lying around; I had brought it when I had long hair to keep my hair out of my face when applying make-up and no longer have a use for it.
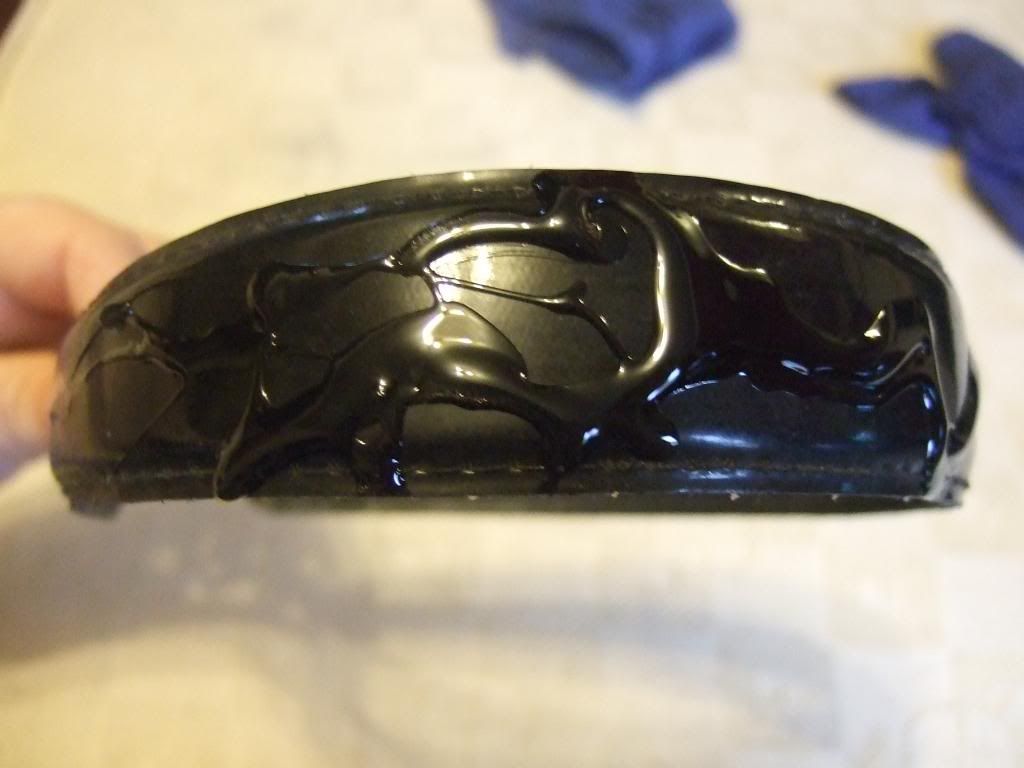
Step one:- I covered the headband in glue:
Step Two:- after waiting a few minutes for the glue to go tacky, I wraped the fabric strips around the full length of the headband (not pictured).
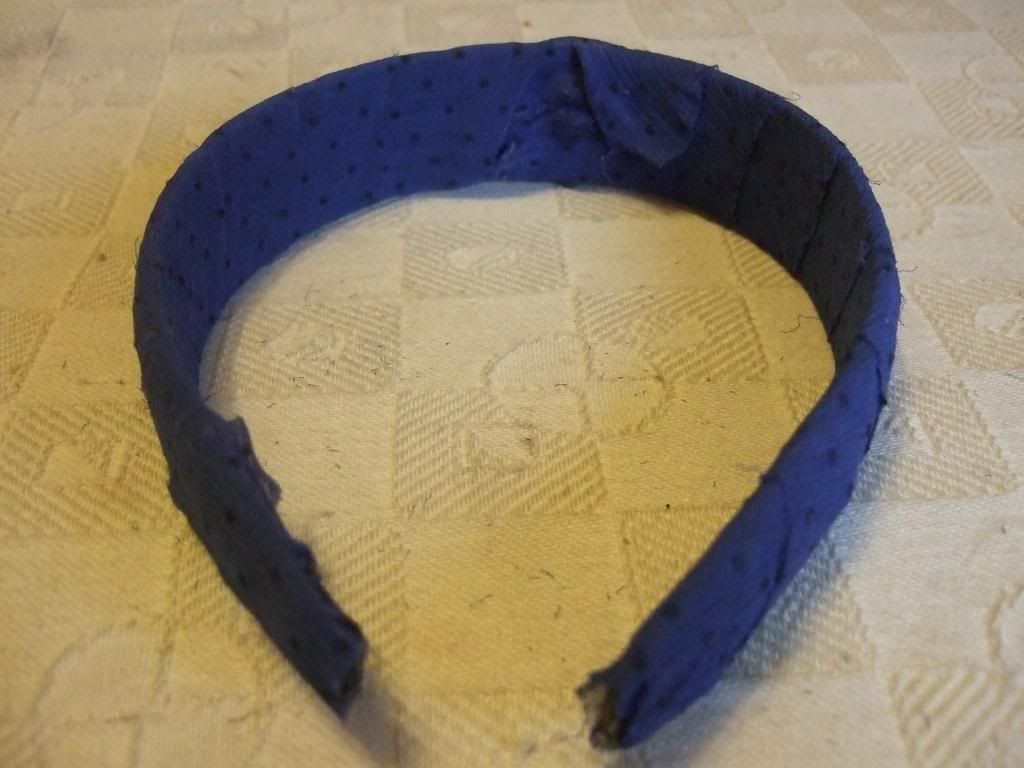
I then left it a few more minutes for the glue to dry properly and I was left with this:
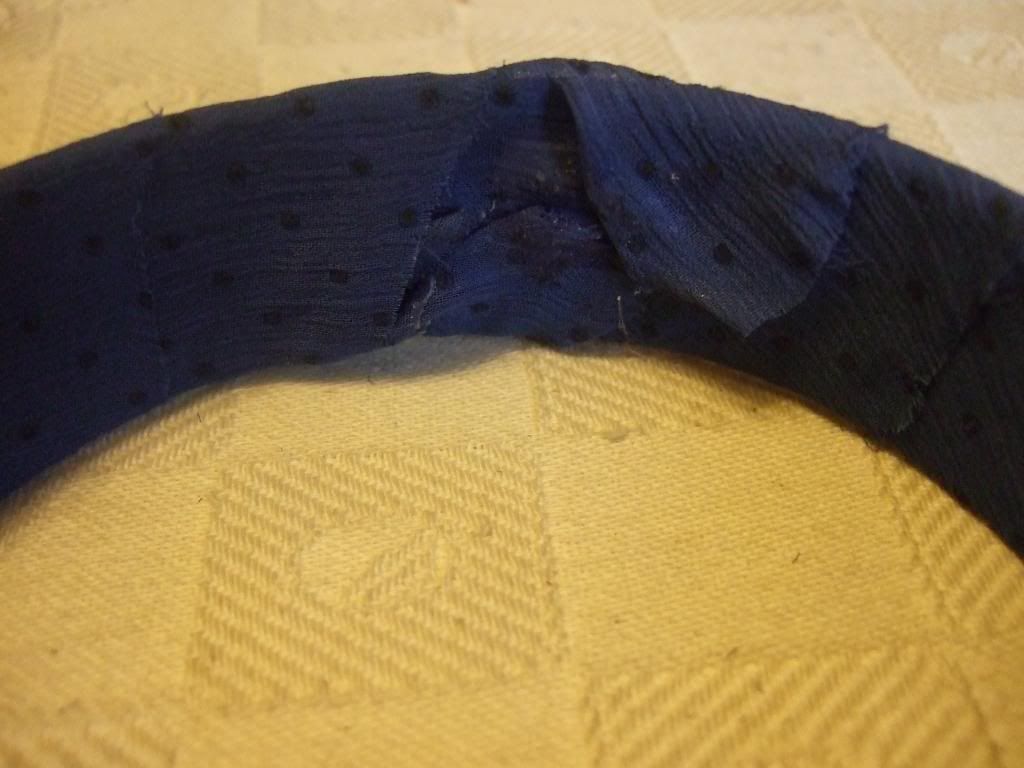
Which is all well and good, but there was this bit in the middle where the two strips of fabric met that I simply wasn't happy with, and, to be frank, the whole of the underside was a little too untidy for my liking:
So, the solution was this:
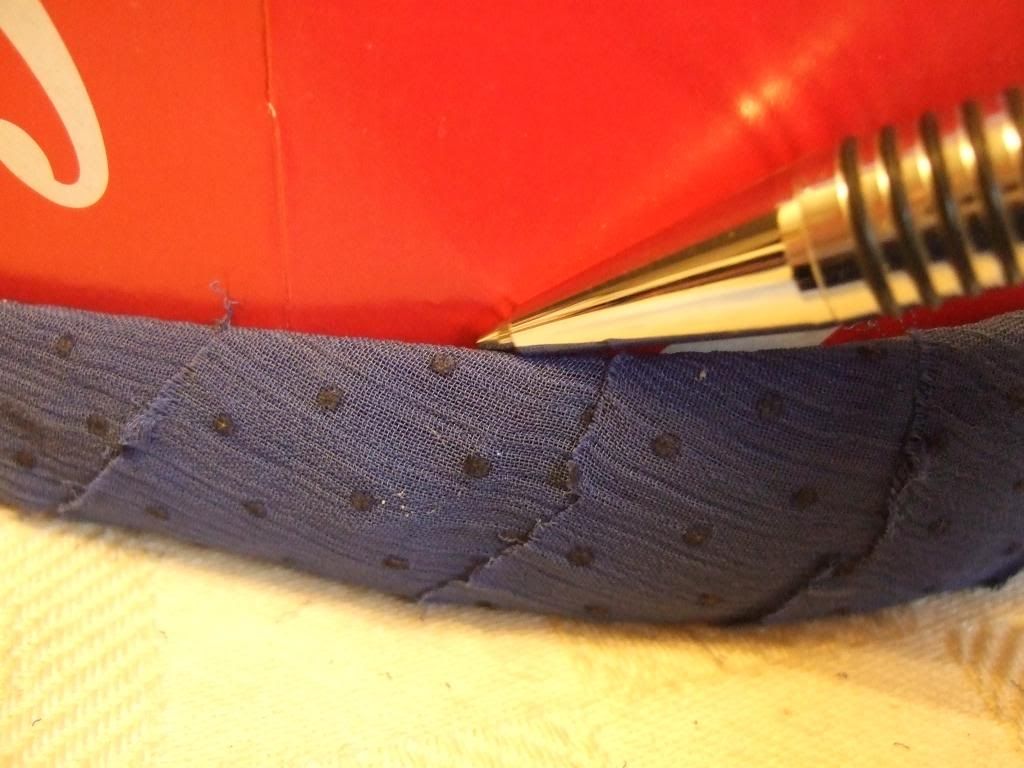
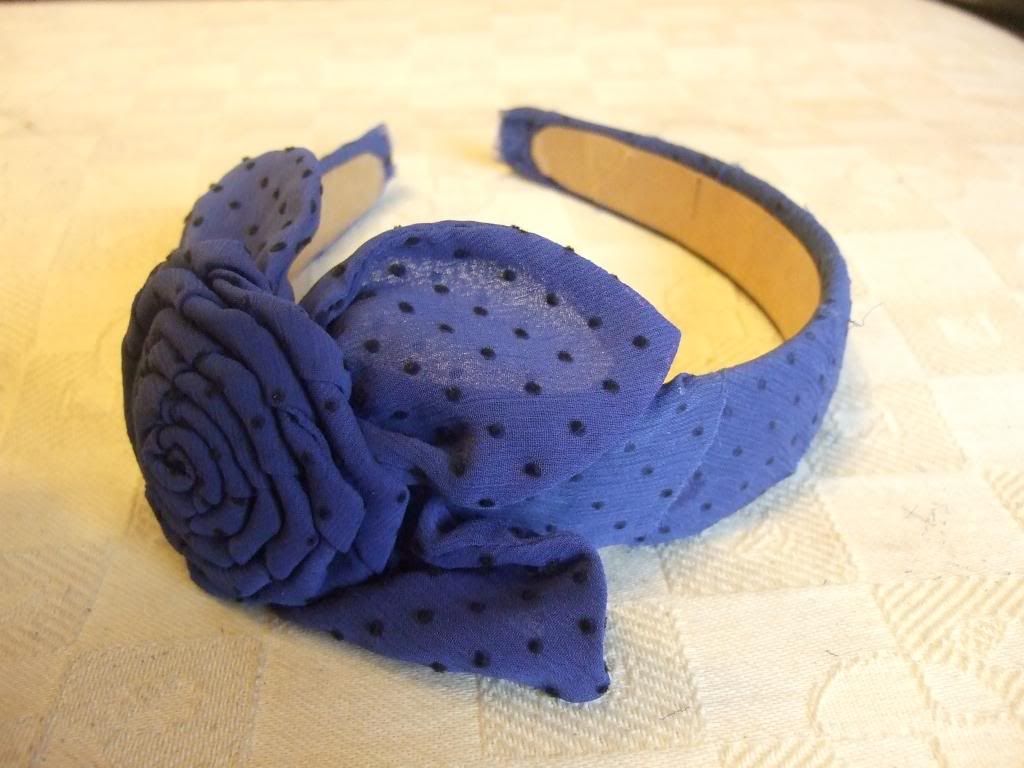
I pressed some cardbaord onto the inside of the headband and drew along the edge, When cutting it out I cut a little inside of the lines to ensure a snug fit. It was then simply a case of glueing the cardbaord to the inside of the band, and to finish off, I glued on the flower. The finished product was this:
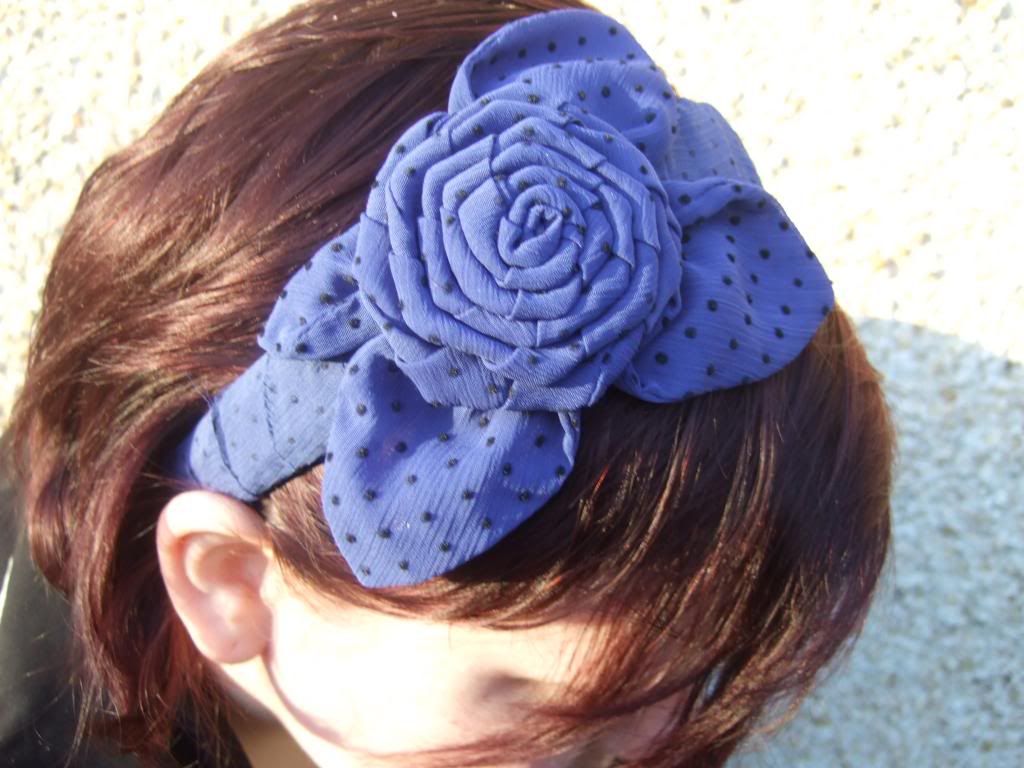
I think it's super cute and, of course, it matches perfectly with my new skirt.
Total cost: £0.00
Total time spent: 15 minutes.
The only things required were:
Some strips of fabric, one of the flowers (which saves two for a future project, yay!), cardboard (not pictured), strong glue and a dissused headband that I had lying around; I had brought it when I had long hair to keep my hair out of my face when applying make-up and no longer have a use for it.
Step one:- I covered the headband in glue:
Step Two:- after waiting a few minutes for the glue to go tacky, I wraped the fabric strips around the full length of the headband (not pictured).
I then left it a few more minutes for the glue to dry properly and I was left with this:
Which is all well and good, but there was this bit in the middle where the two strips of fabric met that I simply wasn't happy with, and, to be frank, the whole of the underside was a little too untidy for my liking:
So, the solution was this:
I pressed some cardbaord onto the inside of the headband and drew along the edge, When cutting it out I cut a little inside of the lines to ensure a snug fit. It was then simply a case of glueing the cardbaord to the inside of the band, and to finish off, I glued on the flower. The finished product was this:
I think it's super cute and, of course, it matches perfectly with my new skirt.
Total cost: £0.00
Total time spent: 15 minutes.
Monday, 7 January 2013
Before and After - Dress to skirt
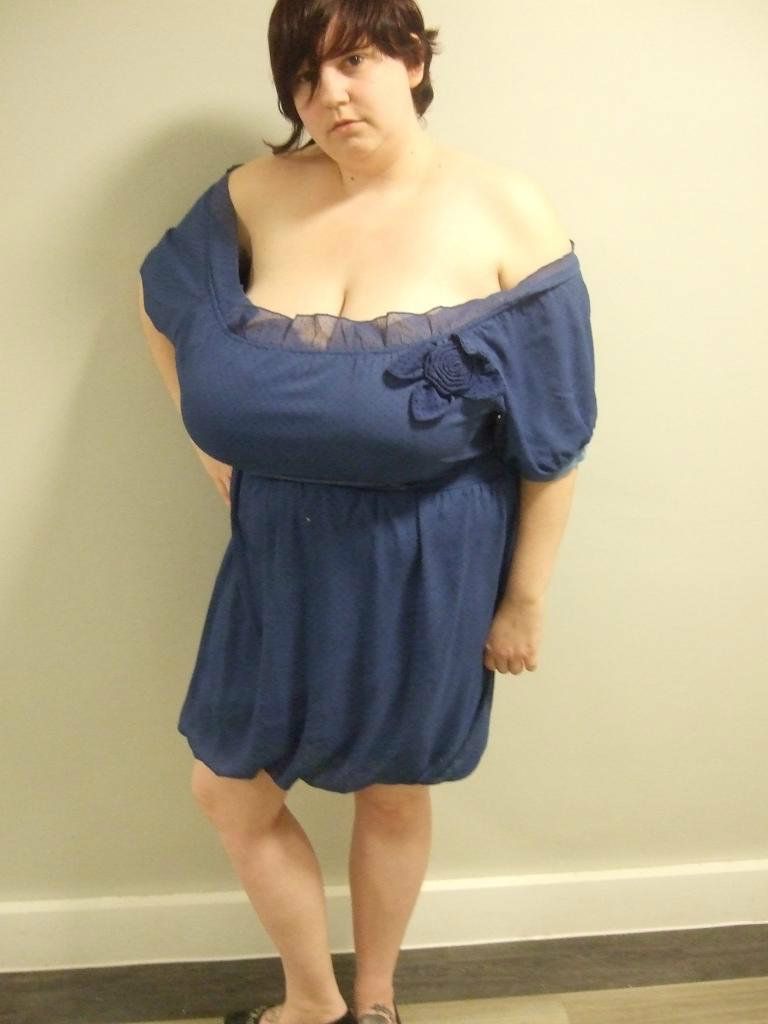
I bet I'm not the only one who has one of these things lurking over me. You know what I'm talking about; it's the dress. THE dress. That's right, the one that you take out of the wardrobe every time you are getting ready to go out, put it on, look in the mirror, and then immediately take it off again. But yet, you keep it around. You loathe to let it go because you loved it once and there is still something that you like about it. For me, it's a blue one that I adored when I first had it, but now wearing it makes me feel top heavy and not entirely unlike a medieval serving wench. Here is the dress in question:
As you can see, I'm naturally a curvy girl, especially up top, and the last thing I need is a dress which exaggerates that!
So, I thought long and hard about this dress, and the solution seemed obvious, if you have a dress that you don't like, and the problem is the top half, why not simply chop it off and turn it into a skirt; So that's exactly what I did.
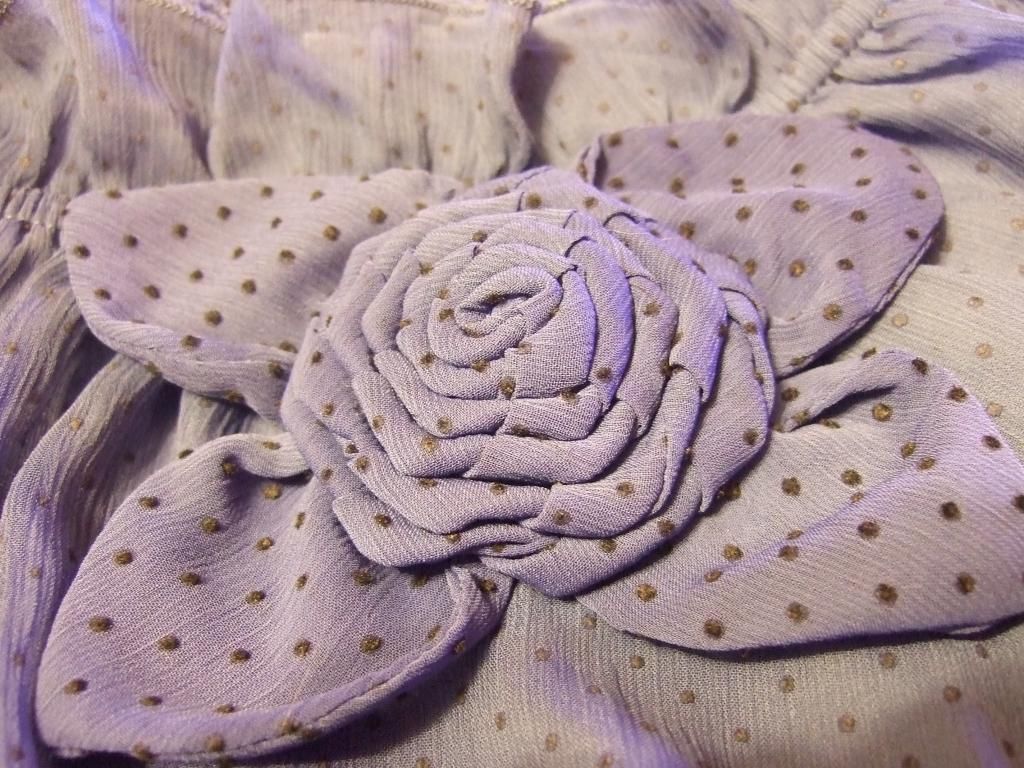
Before I continue, I should note the beautiful flower on the bust of this dress.
Originally, there were three of these and over time the other two fell off, BUT, when that happened I did save them. I had always intended to sew them back on at some point, but for now I'll just save them. I'm sure you will see them again at some point in the future.
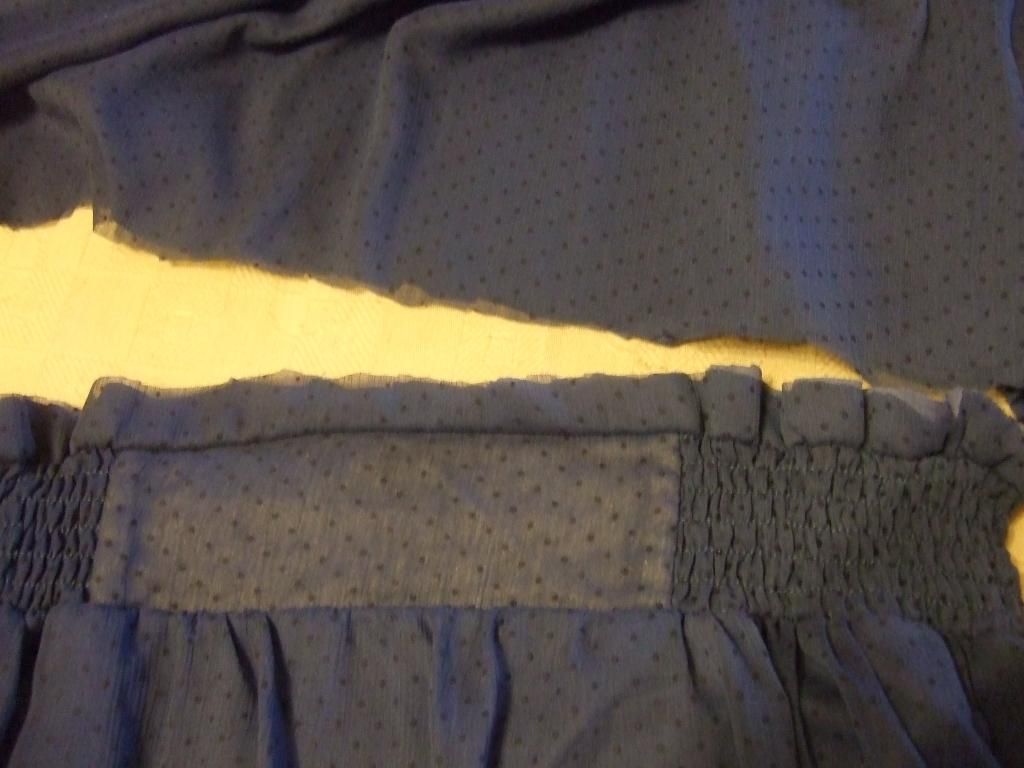
Anyway, on with the project. All it took was a simple cut and hem. I'm lucky enough that with this dress there was elastic running through it, so I used that as my waistline and it saves me any fiddly jobs like adding zippers or buttons.
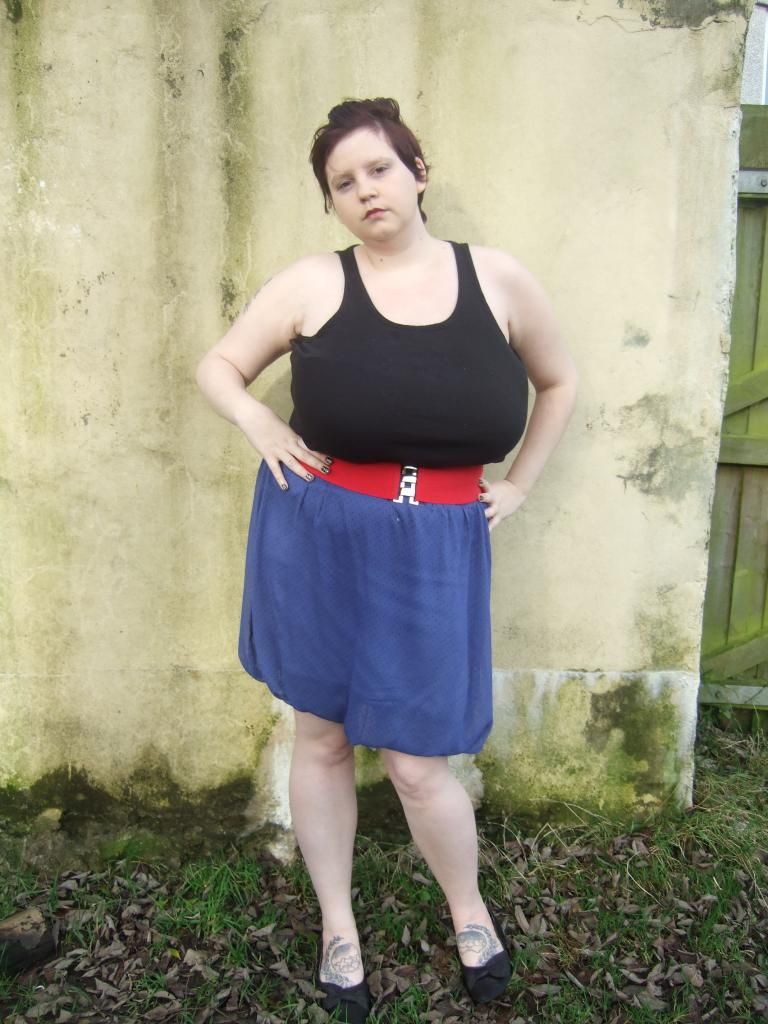
And voila! The deed is done! Styled up with a simple black top and a statement belt in a contrasting colour and I'm happy with this new additon to my wardrobe.
Total cost: £0.00
Total time spent: 30mins
As you can see, I'm naturally a curvy girl, especially up top, and the last thing I need is a dress which exaggerates that!
So, I thought long and hard about this dress, and the solution seemed obvious, if you have a dress that you don't like, and the problem is the top half, why not simply chop it off and turn it into a skirt; So that's exactly what I did.
Before I continue, I should note the beautiful flower on the bust of this dress.
Originally, there were three of these and over time the other two fell off, BUT, when that happened I did save them. I had always intended to sew them back on at some point, but for now I'll just save them. I'm sure you will see them again at some point in the future.
Anyway, on with the project. All it took was a simple cut and hem. I'm lucky enough that with this dress there was elastic running through it, so I used that as my waistline and it saves me any fiddly jobs like adding zippers or buttons.
And voila! The deed is done! Styled up with a simple black top and a statement belt in a contrasting colour and I'm happy with this new additon to my wardrobe.
Total cost: £0.00
Total time spent: 30mins
Tuesday, 1 January 2013
Re-use and Repair!
I know, I know, I haven't updated this blog in quite some time. I have no excuse. I have been lazy, however, I plan to change that. I have several projects planned but fist of all, let me start with my most recent completion. My friend recently came to me with a damaged coat that he offered up as spare fabric. Now this was, of course, a very nice gesture on his part, but it left me with somewhat of a dilemma. You see my plan is, and always has been, to make junk useable again, and I simply could not think of a use for this coat. Here is the coat in question:
Now, at first glance it may appear that this is a perfectly good coat, however, first glances can be misleading, as this next picture shows:
Underneath the right arm was this particularly nasty dog bite. Now don't be alarmed, my friend wasn't wearing the coat at the time that the dog decided to turn it into a chew toy. No damage occured to human flesh! The same cannot be said about the fabric!
Anyways, to cut a long story short, my friend and I put our heads together to try to solve this mess. It was immediately apparent that simply stitching the hole shut wouldn't do any good, and the placement was far too awkward to put a patch over it. So, the decisison was this; COMPLETE MAKEOVER!
Using an old pair of unused jeans I got to work restyling the jacket. Firstly, the jeans were cut into strips, and then sewn onto the coat in a pseudo-union jack pattern:
Several hours of pinning, and the odd tea-break or two:
And eventually, I come up with a finished product that I'm happy with:
Ta-Daa!
This project was truely a test of my minimal skill! Some of the strips were sewn on using a borrowed sewing maching (Thanks Mum!) and some were sewn on by hand to preserve the pockets. All-in-all, I think this is time well spent. My friend was happy with the finished result and has promised to model it for me sometime so that I can get some decent photos, and he has been spared the cost of a new coat. Top that off with the fact that we saved both a coat and a pair of jeans from adding to landfill and I think I'm happy to call this a job well done!
Total time spent: Around 10 hours (mostly due to my low skill levels)
Total cost: £0.00! Can't get better than that!
Now, at first glance it may appear that this is a perfectly good coat, however, first glances can be misleading, as this next picture shows:
Underneath the right arm was this particularly nasty dog bite. Now don't be alarmed, my friend wasn't wearing the coat at the time that the dog decided to turn it into a chew toy. No damage occured to human flesh! The same cannot be said about the fabric!
Anyways, to cut a long story short, my friend and I put our heads together to try to solve this mess. It was immediately apparent that simply stitching the hole shut wouldn't do any good, and the placement was far too awkward to put a patch over it. So, the decisison was this; COMPLETE MAKEOVER!
Using an old pair of unused jeans I got to work restyling the jacket. Firstly, the jeans were cut into strips, and then sewn onto the coat in a pseudo-union jack pattern:
Several hours of pinning, and the odd tea-break or two:
And eventually, I come up with a finished product that I'm happy with:
Ta-Daa!
This project was truely a test of my minimal skill! Some of the strips were sewn on using a borrowed sewing maching (Thanks Mum!) and some were sewn on by hand to preserve the pockets. All-in-all, I think this is time well spent. My friend was happy with the finished result and has promised to model it for me sometime so that I can get some decent photos, and he has been spared the cost of a new coat. Top that off with the fact that we saved both a coat and a pair of jeans from adding to landfill and I think I'm happy to call this a job well done!
Total time spent: Around 10 hours (mostly due to my low skill levels)
Total cost: £0.00! Can't get better than that!
Saturday, 7 April 2012
Ta Daa!
It's 2:30am and, alas, insomnia strikes so I apologise if this blog does not reflect my best work. I must learn to get to sleep at a decent hour and regulate my body clock and blah, blah, blah. Anyway, I digress, let's get onto the matter at hand... THE BAG IS FINISHED!!! Considering this is the first time I've ever made a bag, and considering the fact that I made it up as I went along, I'm actually pretty pleased with the results.
The reveal....
The buttons used for closures originally came from the shoulders of the coat. At first, my intention was to use the zipper as the strap but it turned out to be way too short so, instead, I tore some strips from the sleeve and braided them together, keeping the edges frayed and scruffy for effect.
The reveal....
The buttons used for closures originally came from the shoulders of the coat. At first, my intention was to use the zipper as the strap but it turned out to be way too short so, instead, I tore some strips from the sleeve and braided them together, keeping the edges frayed and scruffy for effect.
I do intend to take better pictures at some point. But there we have it, my first project finished. Total time spent: 4 hours (would have been a LOT faster if I had a sewing machine!). Total cost: (not including the price of the coat because I had that already) 95p for a reel of cotton in the correct colour.
One final note, she won't know it until she reads this (so now I know if she is really following my blog or just pretending to), but this bag is, and has always intended to be, a gift for my best friend. So call me hun, and it's yours. The only stipulation being that I get to borrow it back when my model is free for photos. Enjoy. Mwah!
Things I've learned
1: When you get things out of storage, wash them BEFORE you start to cut them up. Rookie mistake, ick.
2: Next time I attempt a project, I will be shutting the cat out of the room. I love him to pieces but he made things about 10 times harder than they needed to be.
I'm sure Von D was only trying to show interest but sitting on my workspace, batting at every loose thread and point blank refusing to move no matter how much I push him away, though adorable, really doesn't speed this process along.
So far, All I've done is cut out the parts I think I'm going to need. Total time taken so far, about an hour...Thanks cat!
2: Next time I attempt a project, I will be shutting the cat out of the room. I love him to pieces but he made things about 10 times harder than they needed to be.
I'm sure Von D was only trying to show interest but sitting on my workspace, batting at every loose thread and point blank refusing to move no matter how much I push him away, though adorable, really doesn't speed this process along.
So far, All I've done is cut out the parts I think I'm going to need. Total time taken so far, about an hour...Thanks cat!
Subscribe to:
Posts (Atom)