Happy New Year readers!
The new year is a time of reflection and of resolutions. The one topic I see appearing again and again is that money is tight and people want to cut their spending, but that shouldn't mean that your hobbies have to suffer. There is a way to continue crafting without breaking the bank.
I know that cost is important, so every time I do a DIY project here on Enthusiastitch, I always try to include the cost. What I have always done, is write what it has cost ME to make it; and you will notice that most of my projects have cost very little, if anything at all. This is because anything that I already had, I consider to be free. Anything that was given to me, I consider to be free. Anything that would have been tossed out had I not used it, I consider to be free. I've decided it's time I shared some tips for how you can keep your costs down too.
1. Take stock of what you already have.
Is there something in the back of your wardrobe that has been there longer than you can remember? Well it's clearly of no use to you the way that it is now, if there was, then you would already be using it! If it's no use to you in its current form then its free materials! Create a stock pile, but be careful to know the difference between storing and hoarding! I have a whole cupboard dedicated solely to my crafting, but maybe just a storage box or two would be sufficient. Here are some past projects where the core materials have been junk I already had.
DIY fabric covered shoes
Before and After - dress to skirt
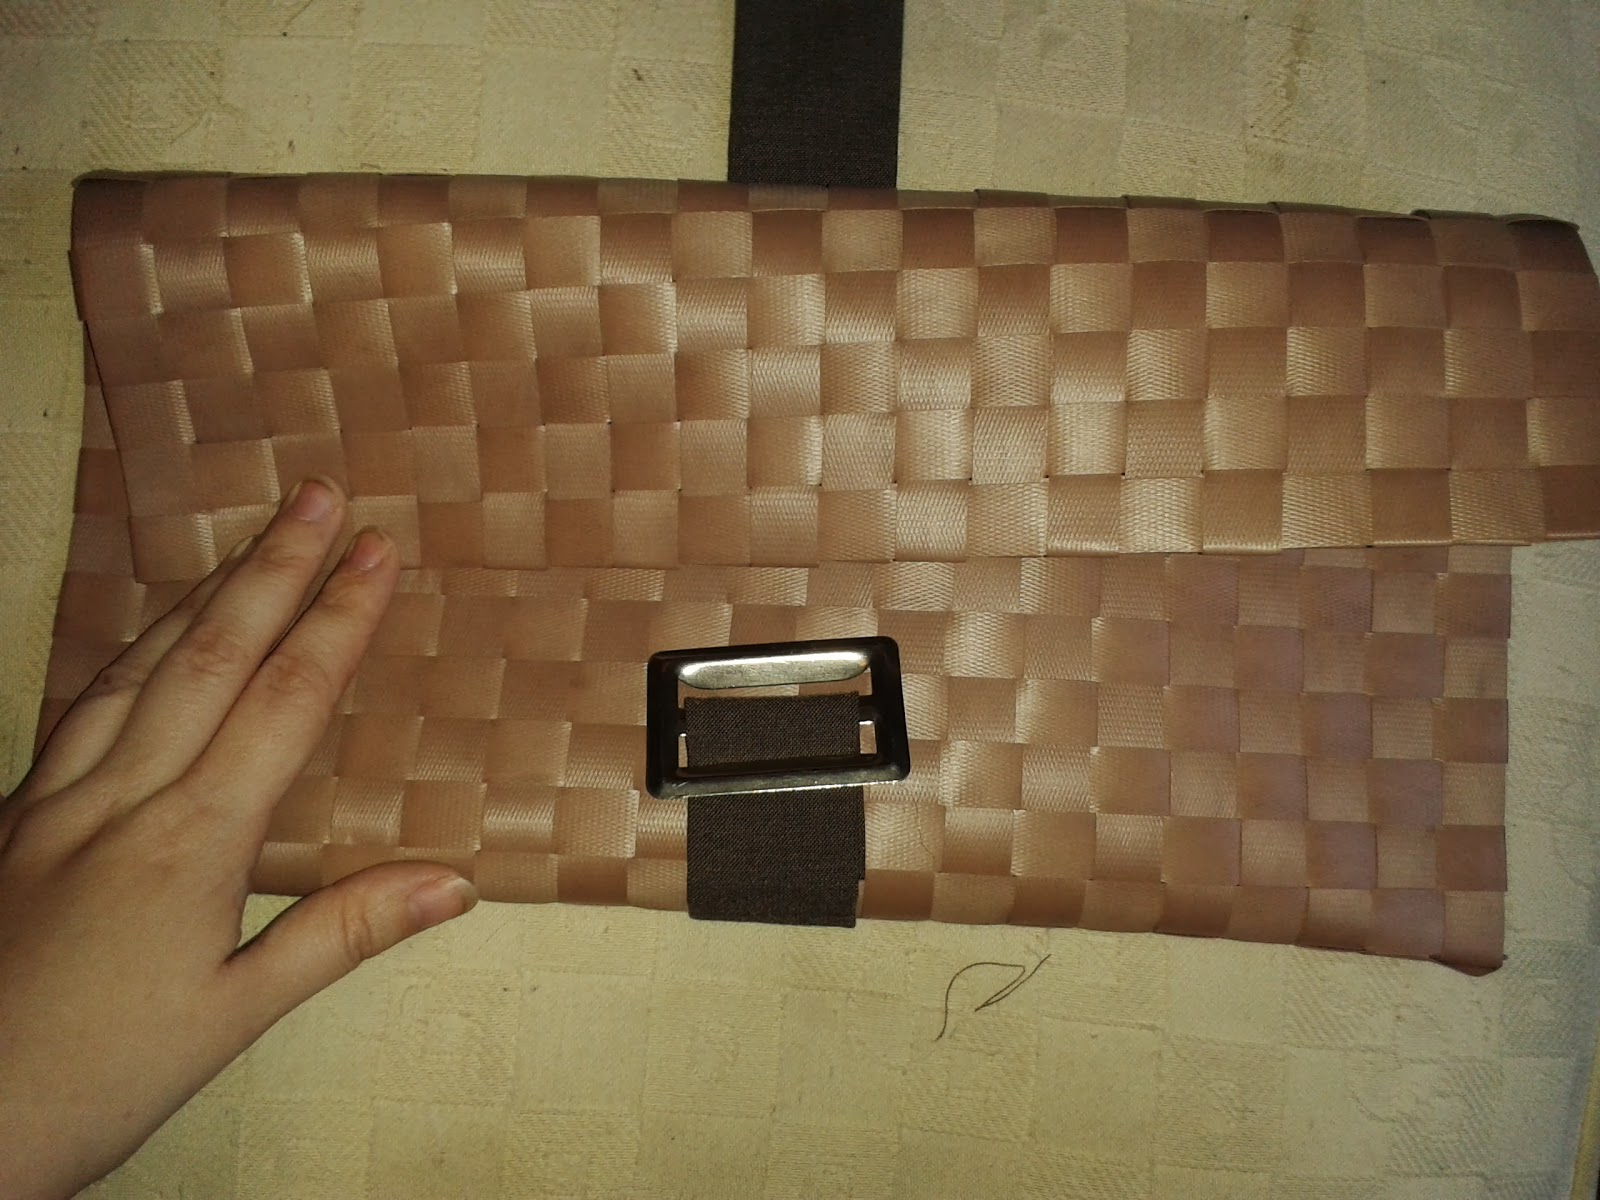
DIY Belt Extension
2. Tell people about your hobby
Before you know it, you will find that people start to give you things. Most people don't want to see things thrown away if they can be used. Most people don't like waste. As a result, most people would rather see you make use of something rather than throw it out. My sister, for example, has been a relative gold mine for materials! There have been many occasions when she has given something to me rather than throw it in the bin. I do have some personal rules. If it's junk, I try to use it. If it's in good condition, but I have a specific purpose in mind for it, I try to use it. If it's in good condition, but I have no idea what I would use it for, I donate it. There is no point hanging on to something that has no purpose for you; it only takes up space and someone else might be in need of it. Here are some projects where the materials have been things that were given to me.
Brrr! - scarf to hat makeover
Treasure! - DIY button earrings
Little Red Riding Hood's cape
3. Buy Second Hand
There are plenty of opportunities to shop without buying new every time. In the past, I've bought supplies from auction houses, car boot sales, and of course eBay. There are even facebook groups now for buyers and sellers; I often use a local facebook group where all items cost £1 or less. Of course never forget those charity shop gems! Charity shops are some of my favourite places to buy materials. Check them often, because stock changes at a rapid rate, and don't be afraid to really search for those hidden treasures! Here are some past projects I've made using charity shop finds.
DIY shoe clips
Polka Dots. Yay!
4. Don't forget the little things
Scraps make for great crafts. It can be a challenge to find a job for the little pieces, but the end results can be really rewarding. The rule is simple, think before you throw! It might be small, but maybe it has some life in it yet! Here are some past projects utilising the scraps.
15 minute headband
Chapstick snuggie
DIY felt bookmark
5. Need something bigger? That's what birthdays are for!
In the early days of Enthusiastitch, I either sewed everything by hand or walked to my mother's house to borrow her sewing machine. My mother and father-in-law were fantastic enough to realise my need and buy me a sewing machine for my birthday. Her name is Esme, and she's beautiful!
meet Esme
If there is a piece of equipment you want, and will use, then ask for it when your birthday rolls around!
Esme wasn't the only gift I've received that's going to help me with future projects. This Christmas my secret Santa in work got me a hot glue gun, which I can't wait to play with!
Any way, that's pretty much how I do things. My budget has always been low, but that doesn't stop me from doing the things that I enjoy. Sometimes figuring out how to do things whilst saving money becomes part of the fun.
I hope this helped, and I hope that your future endeavours are not only fun, but thrifty too!
Happy crafting folks!
Tan xx