Today, we are making these:
Fun, cute, and easy peasy!
For the Tree
You will need:
Green felt, 20 green buttons, strong glue, scissors, a small length of ribbon, and some things to decorate (I used some small yellow buttons, some nail decorations, and a star shaped button I managed to score from my Mother's button box). You will also need pliers or jewellery nippers to clip the shank off the back of your star button if necessary.
When you are happy with your arrangement, it's time to get sticky!
Step 2: We are starting with the bottom line first. Draw a line of glue along your felt, the same length as 6 buttons.
Step 3: Place your row of 6 buttons onto the glue line.
Step 4: Draw another line of glue above this line, make it shorter than your first line as this is for 5 buttons. Place your buttons on the line.
Step 5: Continue adding lines of buttons, taking one button away for each line, until you are finished with a top row 2 buttons long.
Step 6: If your star shaped button has a shank, clip it off with your pliers, and then glue it to the top of your tree.
Step 7: Decorate your tree using your other buttons, or nail gems, or glitter... anything you like really. It's christmas, go nuts!
Step 8: Trim around the outside of your tree.
Step 9: Turn the tree over, and glue a loop of ribbon to the back.
Leave alone for a while so that the glue has time to dry, and that's your first one done!
Total cost: less than 50p
Total time spent: 10 minutes plus drying time.
For the Wreath
You will need: Green felt, green buttons, ribbon, scissors, glue, a marker pen, and something round to draw around (I used a candle, but a drinking glass would be fine)
Step 1: Draw around your candle/glass/whatever you are using, onto the felt and cut out the circle.
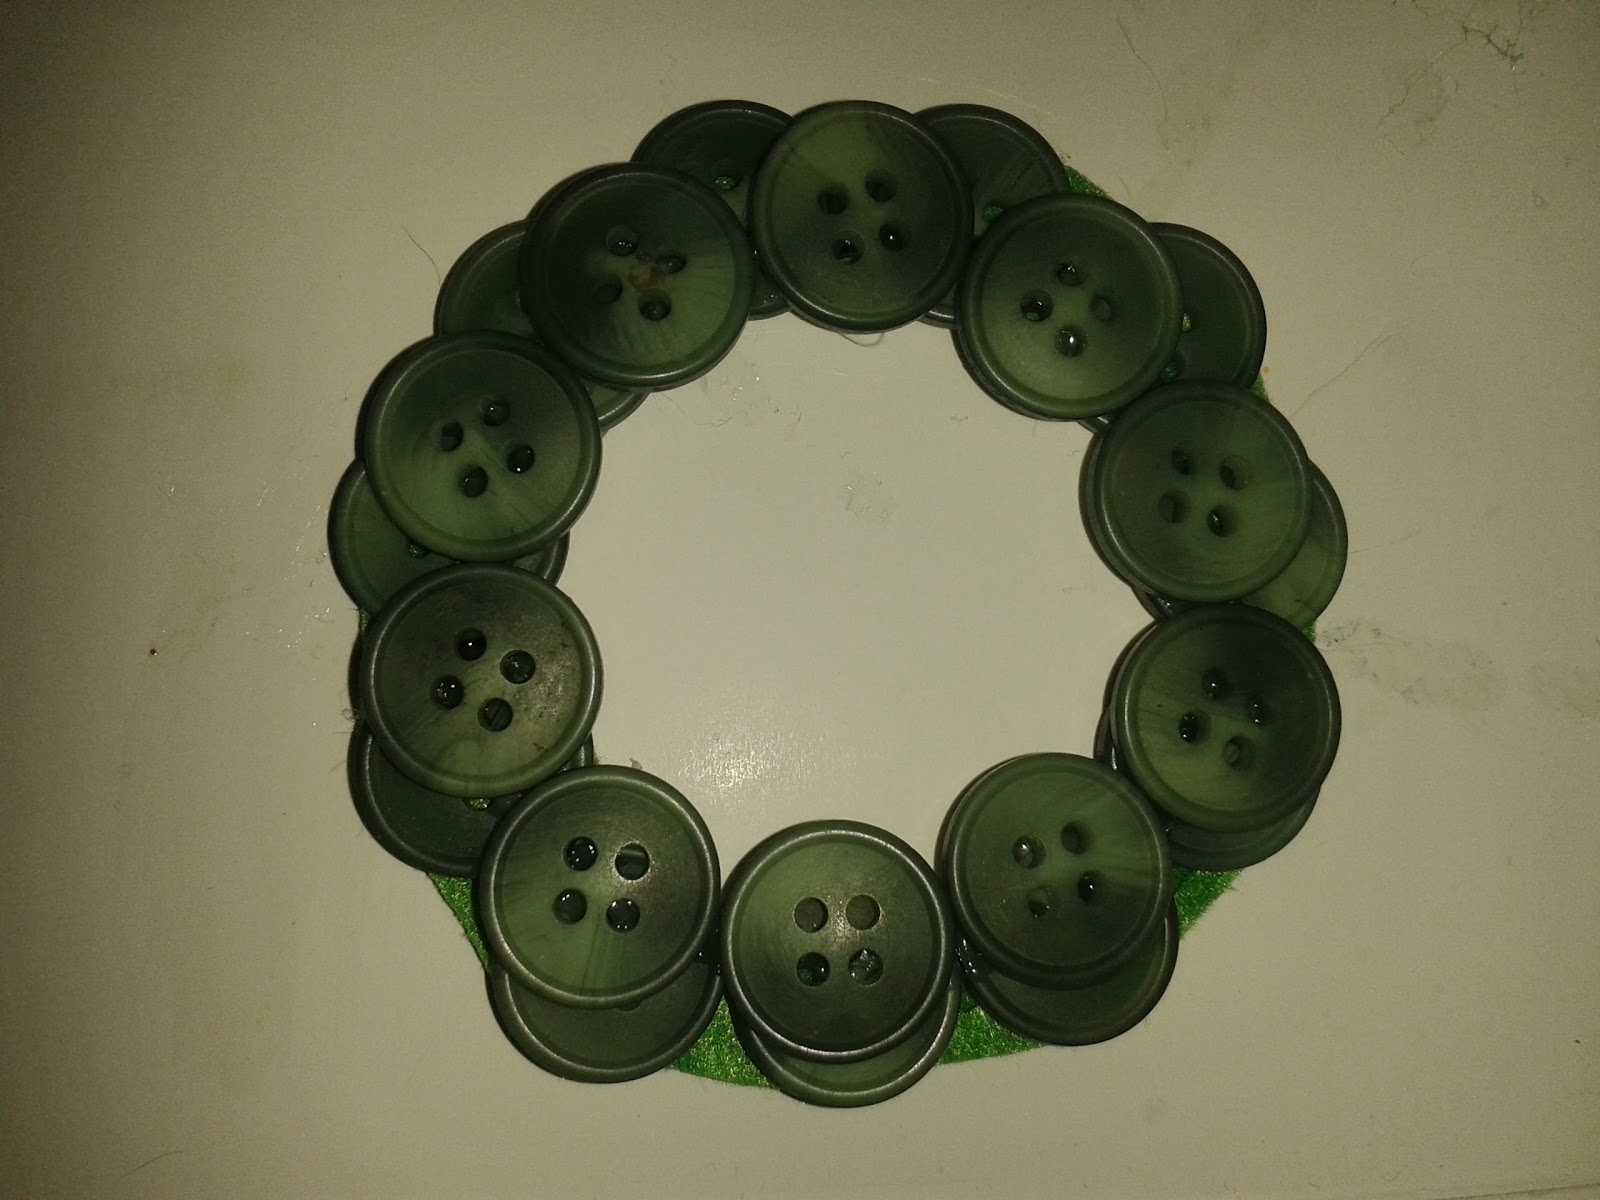
Step 3: Open out your shape, you should have a ring of felt that looks like this:
Step 4: Add a line of glue around your ring, it looks better if you go further towards the inner edge of the ring.
Step 5: Place your buttons onto your glue line. I can't tell you how many you will need, it depends on the size of your buttons. When you place them, make sure that they very slightly overhang the inner edge of your ring.
Step 6: When the glue is dry enough, turn your wreath over, create a ring of felt as before, and glue it to the back of your wreath. This will strengthen it a little; after all, nobody likes a floppy wreath!
Step 7: Trim the felt for around the edge of your wreath, cutting as close to the buttons as you can.
Step 8: Working again with the front of your wreath, add a line of glue on top of your buttons, and add a second layer of buttons. DON'T line them up with your first layer, it looks so much better if you offset them!
Step 9: Tie a small length of ribbon into a bow and glue it to your wreath.
Step 10: Glue a loop of ribbon onto the back of your wreath.
Allow the glue to dry, and you're done with this one too!
Total cost: less than 50p
Total time spent: 10 minutes plus drying time.
Ready to hang as soon as the tree goes up.


No comments:
Post a Comment